CN
CN")
Just like all nondestructive testing methods, the results of a penetrant inspection are only reliable if the inspection is performed accurately and consistently.
In this article, we will go through the common steps of liquid penetrant testing as outlined in ASTM E1417 standard practice for liquid penetrant testing.
1. Surface preparation: it is important for the test surface to be clean, dry and free from any dirt, grease, paint or other material which might interfere with the inspection.
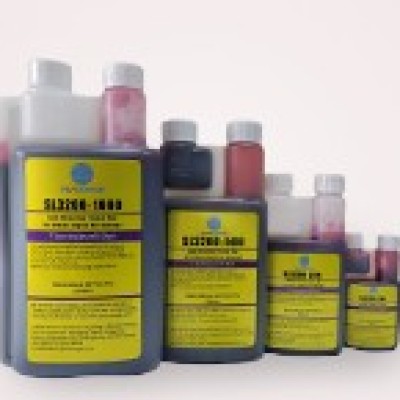
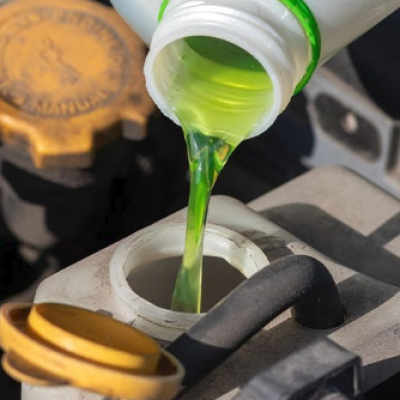
2. Penetrant application: Liquid penetrant can be applied to the test surface by dipping, brushing or spraying.
3. Penetrant dwell time: Penetrant needs to be given adequate time to enter any discontinuities. The dwell time will be determined by several parameters, including the type of penetrant, type of developer and type of defect needing to be found.
4. Excess penetrant removal: Penetrant remaining on the surface needs to be carefully removed while not disturbing the penetrant which has seeped into any discontinuities. Depending on the type of remover method, the part may need to be dried in an oven after the excess penetrant is removed.
5. Developer application: A thin, even layer of developer is applied to draw out the penetrant in the discontinuity to the surface to form indications. The developing time will vary depending on the penetrant, type of developer and type of flaws.
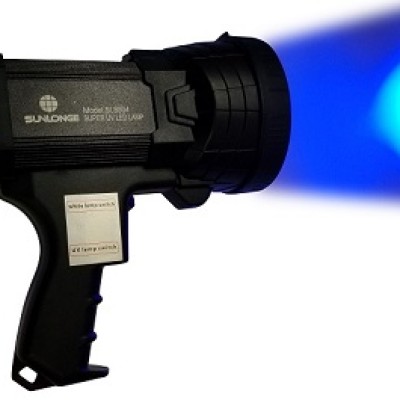
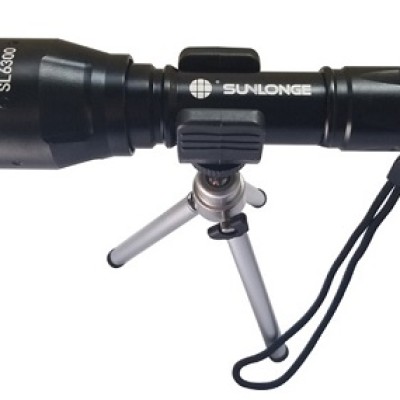
6. Inspection: The part is evaluated under the appropriate lighting conditions for indications and the appropriate steps taken to interpret and document any findings.
7. Post-cleaning: Parts are cleaned after inspection to remove any remaining develop and penetrant.
This article is meant to provide a general overview of a typical LPI process; all NDT testing must be performed in accordance with the prescribed specifications or test procedures.